Monday, February 24, 2014

Buttermilk Cake with Sultanas

Buttermilk Cake with Sultanas
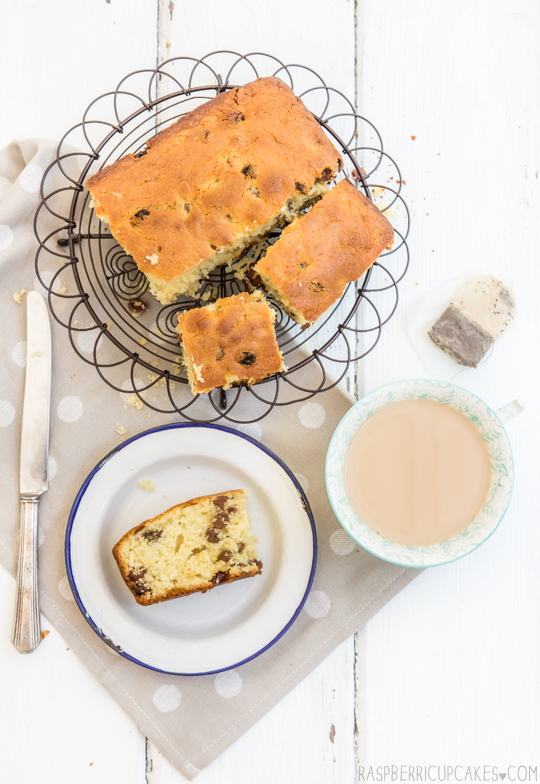
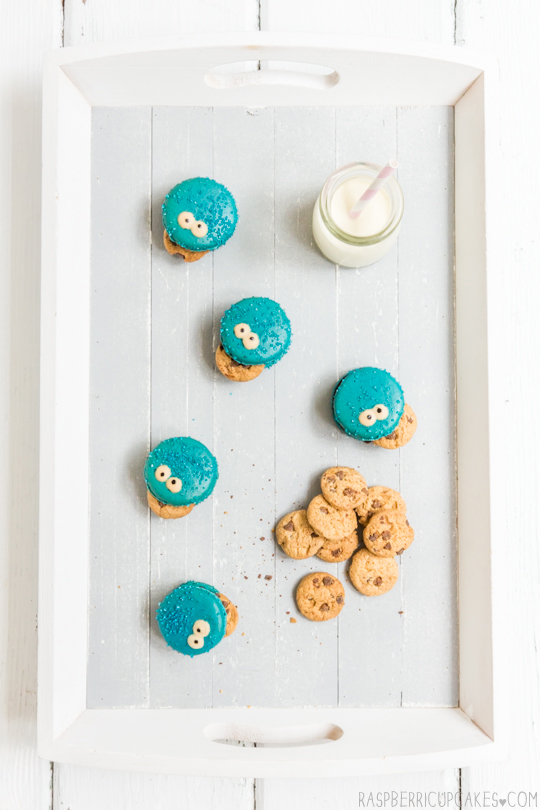
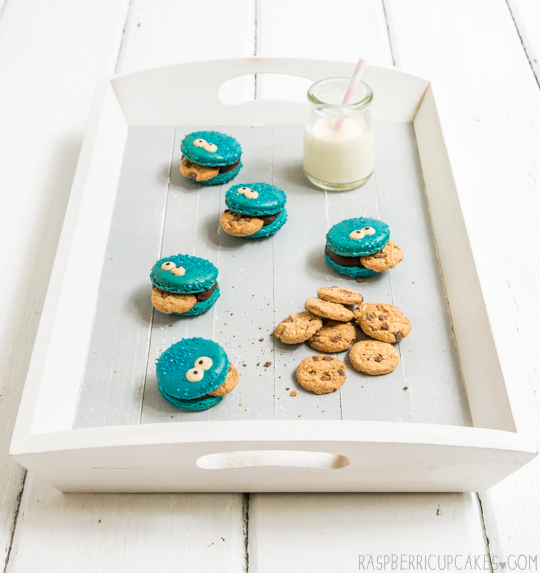
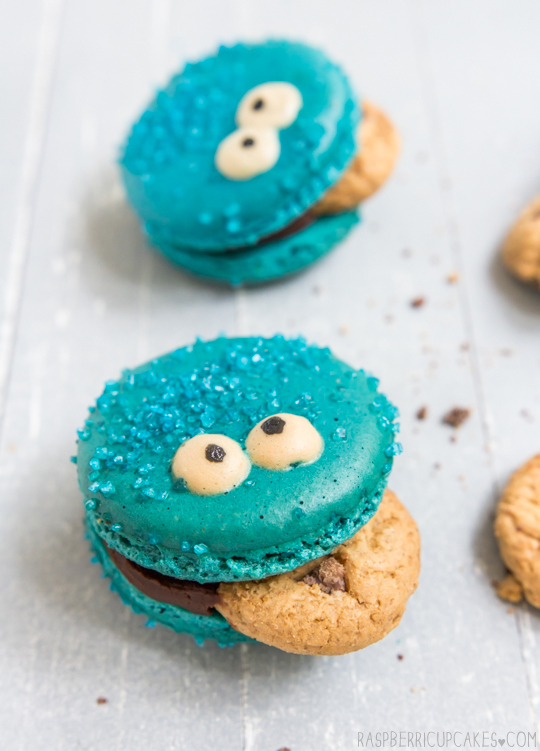
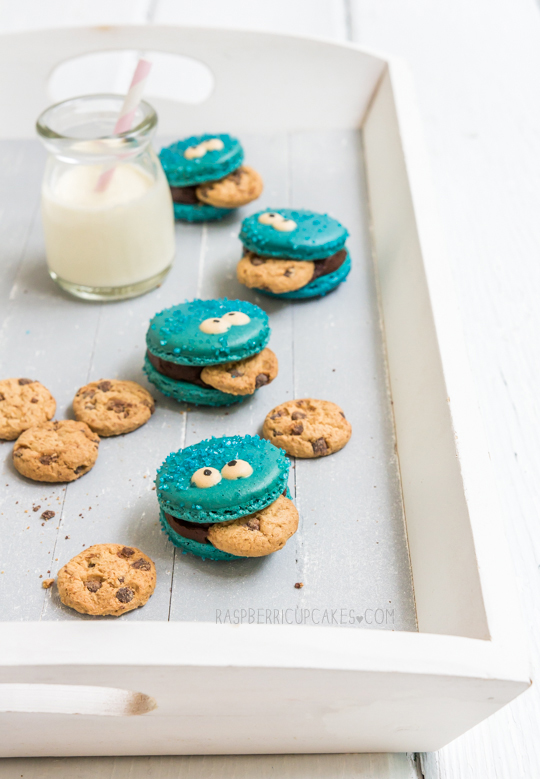
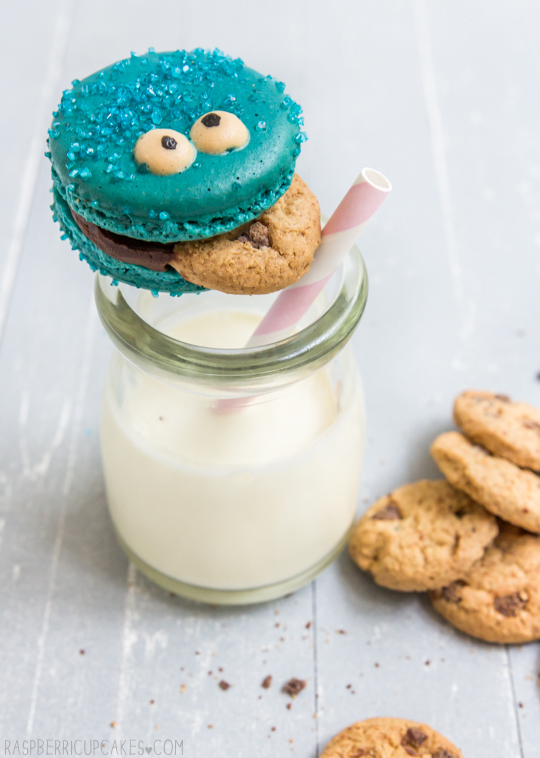
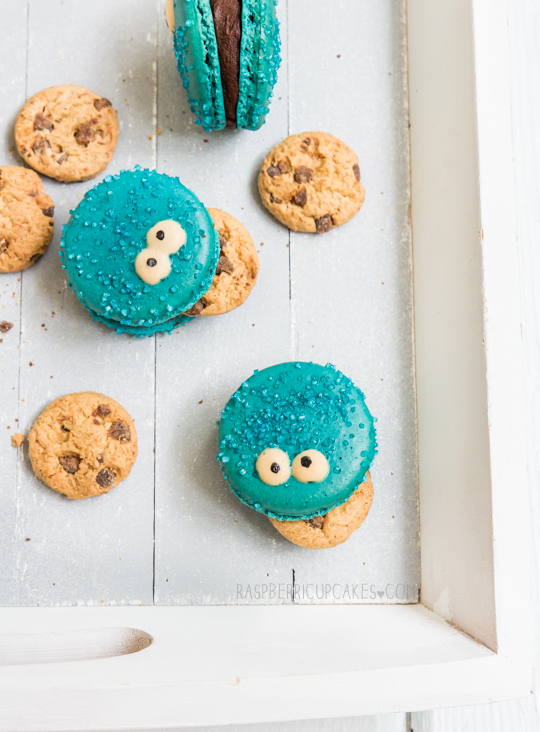
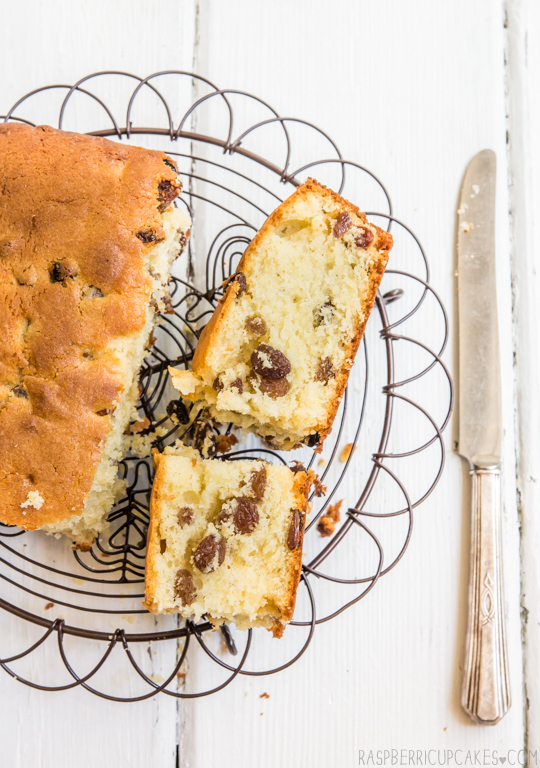
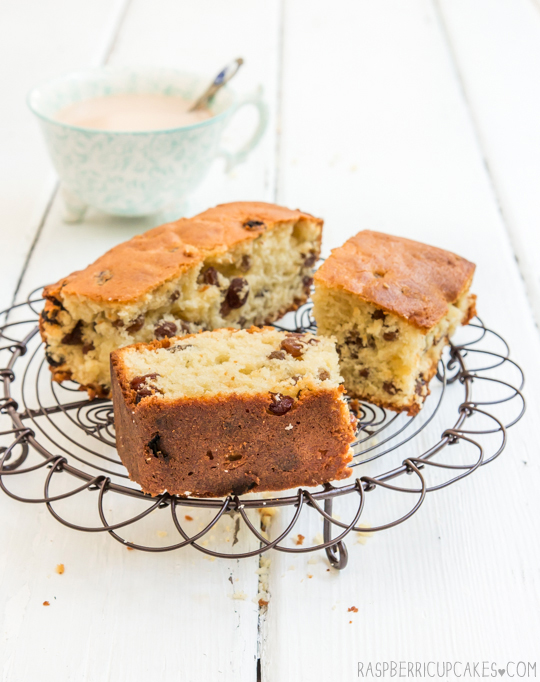
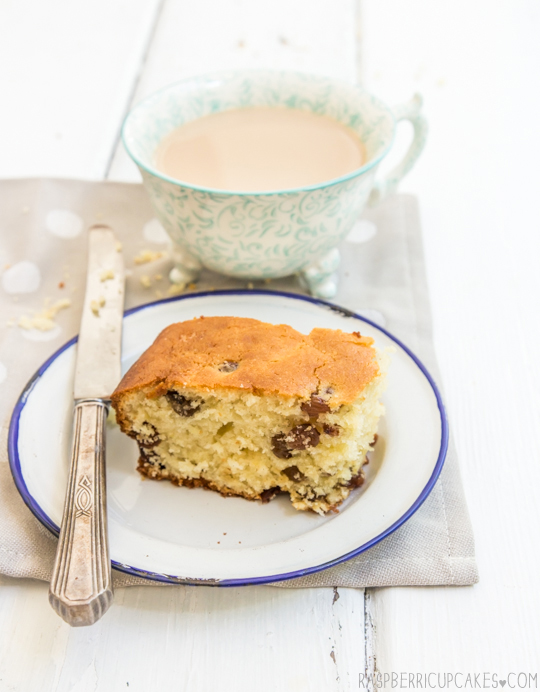
Cake. It's not a very exciting cake, but everything seems pretty boring and uncute when compared to last week's post. You can't out-cute the cookie monster macs. It's also not a very pretty cake, but is one of those throw-together on a Sunday arvo cakes that you eat still warm from the oven with a big mug of tea.
Buttermilk Cake with Sultanas
For those of you in the US, here in Australia we call raisins sultanas. We reserve the name raisin for a bigger variety of dried grape. I don't know why, but the regular ones have always been sultanas for me. Whatever you call them, I made sure to put a LOT of them in this cake.
Buttermilk Cake with Sultanas
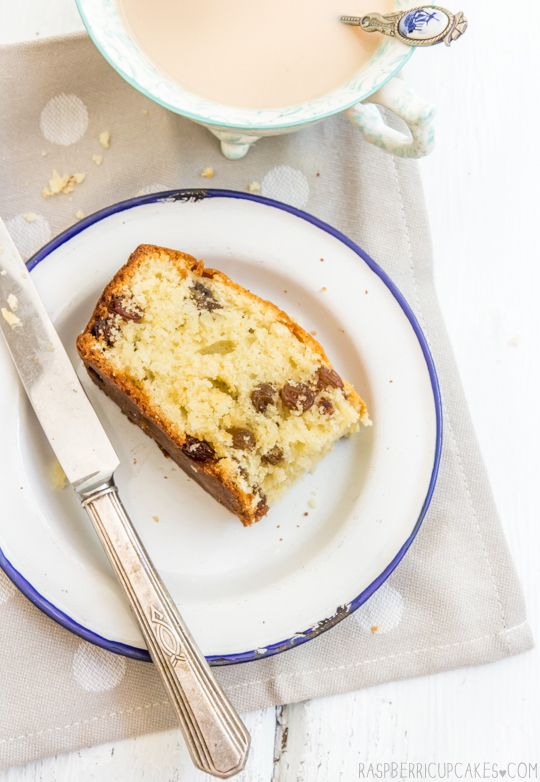
As well as being chock-full of sultanas, this cake is made with buttermilk so it has that wonderful light but soft quality and you get from adding buttermilk to anything. It's guaranteed to stop your cake from going dry. You can also add other dried fruit to the cake mixture, or leave it out if sultanas aren't your thing and top it with some lemony icing.
Buttermilk Cake with Sultanas
Buttermilk Cake with Sultanas (Raisins)
(adapted from this Gourmet Traveller recipe)
165g (about 1.5 sticks) butter (I used salted, if using unsalted add a pinch of salt to your flour mixture), softened
220g (1 cup) sugar (I used caster/superfine)
2 eggs, room temperature
1/2 tsp pure vanilla extract or vanilla bean paste
Finely grated zest from 1 lemon
200g (about 1.5 cups) plain/all-purpose flour
100g (about 3/4 cups) self-raising flour
1/4 tsp bicarb (baking) soda
220ml (about 1 cup minus 2 tbsp) buttermilk (or milk mixed with 1 tsp lemon juice)
2 cups (350g) sultanas/raisins
  1. Preheat oven to 170°C (340°F) and grease and line a 20cm square cake tin with baking paper. 
  2. Mix flours and baking soda in a bowl together and set aside
  3. Place butter and sugar in a large mixing bowl and beat on high with an electric mixer until light and fluffy. 
  4. Add eggs one at a time, beating to combine. 
  5. Add vanilla and lemon zest and beat to combine.
  6. With the mixer on low speed add half the flour mixture, follow by half the buttermilk mixture. Repeat with remaining flour and buttermilk. Mix until just combined.
  7. Fold in sultanas and pour mixture into prepared tin. Bake for 35-45 minutes or until a skewer inserted into the centre comes out clean.
  8. Cool in tin for 10 minutes then carefully remove and cool on wire rack before serving. Can be stored in an airtight container at room temperature for a couple days.
Buttermilk Cake with Sultanas
Print Friendly and PDF

Monday, February 17, 2014

Cookie Monster Macarons

Cookie Monster Macarons
COOOOOOOKIE. I made Cookie Monster Macarons! It made me extremely happy. You see, the Cookie Monster is my spirit animal. It was meant to be. Even my terrible user handle stephcookie came about because I originally started writing my blog posts as The Cookie Monster, then Steph the Cookie Monster, which was just way too long so it became stephcookie. Anyway you don't care about that. LOOK AT THESE MACARONS!
Cookie Monster Macarons
SQUEE! So ridonkulously cute. They were a total pain in the butt. Mainly because I decided to make them this weekend, which turned out to be the wettest, most disgustingly humid weekend. It was not the best idea. My first batch of macarons were a sloppy, soggy mess that looked more like alien fried eggs rather than cookie monster macs. So after wasting a day of baking, I made another batch and waiting for hours for them to dry before baking. It was so bloody humid that I think they were actually less dry after all that waiting! Luckily the husband saved the day by bringing out a fan and pointing it at the stubborn macarons, and they finally dried enough for me to pop them in the oven. Success!
Cookie Monster Macarons
It was totally worth making that second batch. I want to hug them! They're not too complicated; dark chocolate ganache filling because I wanted a dark coloured filling so it would look like Cookie Monster's mouth (I was originally inspired by these awesome Elmo macarons), and plain macaron shells tinted with blue colouring (except for the white eyes) and blue sugar crystals for a bit of texture. Ooh and tiny chocolate chip cookies wedged in between the shells. If you'd rather have a less boring macaron flavour you could replace the ganache with this cookie dough buttercream. Mmm.
Cookie Monster Macarons
The cookie monster cupcake has been around forever and I love how cute they are, but these cookie monster macarons are so me and so perfect for this blog. I'm so glad I made them! For those of you who are tempted to recreate them, I would definitely not recommend them for beginner macaron makers because piping on the extra bits for the eyes makes it tricker. To make your life easier you could just bake plain blue macaron shells and use royal icing after you've baked the shells to pipe on the eyes. But I prefer when it's all part of the macaron shell, like all my other macaron animals.
Cookie Monster Macarons
So make sure you're patient if you decide to make these, rushing will only lead to alien fried egg looking things. Oh and don't pick the most ridiculously humid weather to make macarons in. It will only end in tears.
Cookie Monster Macarons
Aaand I couldn't resist making a gif. Enjoy!
Cookie Monster Macarons
(makes about 20 macarons)
Note: These macarons are a little trickier, if you are a beginner with macarons read up and practice plain macarons first. BraveTart has lots of useful advice and info on the subject
100g egg whites, at room temperature
1/4 tsp salt
110g almond meal, at room temperature and well sifted
200g icing (confectioner's) sugar
50g sugar (I use caster/superfine)
Optional: 1 tsp powdered egg whites (available from The Essential Ingredient), helps to stabilise egg whites but is not necessary, blue food colouring (preferably gel or powdered), black food colouring or edible black ink, blue sugar crystals to decorate
  1. Line two baking trays with good quality baking paper. 
  2. Place icing sugar in food processor and pulse for a minute to remove any lumps. Stir in almond meal and pulse for about 30 seconds to combine. (If you don’t have a processor just sift together with a fine sieve.) Sift into a large mixing bowl and set aside. 
  3. Using an electric mixer, beat egg whites and salt (and egg white powder) in a medium mixing bowl until it reaches soft peaks. With the mixer on high speed, gradually add sugar and beat until it reaches stiff peaks.
  4. Add meringue to your dry mixture and mix together with a spatula, quickly at first to break down the bubbles in the egg white (you really want to beat all the large bubbles out of the mixture, which is easily done by smearing the mixture on the bottom and side of the bowl with your spatula), then mix carefully as the dry mixture becomes incorporated. Place 1/3rd of a cup of the mixture in a separate bowl (you can skip this step and use royal icing to pipe on the eyes after baking the blue shells). With the remaining mixture, add blue food colouring and mix until it starts to become shiny again. Take care not to overmix, the mixture should flow like lava and a streak of mixture spread over the surface of the rest of the mixture should disappear after about 30 seconds. Mix the plain white macaron mixture to the same texture.
  5. Place blue mixture in a piping bag with a 1cm round piping tip. Pipe circles about 3.5cm wide on your prepared trays, leaving about 3cm space around each one. Tap baking sheets carefully and firmly on the benchtop a couple times to remove any large bubbles. 
  6. Place white mixture in a piping bag with a narrower round piping tip (I used a 3mm wide tip). Set aside and allow the blue piped circles to dry for half an hour. 
  7. Sprinkle blue sugar crystals over the top of the circles, then carefully pipe two small white circles on top of HALF of the blue circles to form the eyes. 
  8. Leave to dry for about 60 mins more, until when you press the surface of one gently it does not break/stick to your finger. This will help prevent any cracking and help the feet to form on the macs.
  9. Preheat your oven to 130-150°C (265-300°F), depending on your oven (fan-forced ovens may need to be set as low as 100°C, it really depends) . You can place the sheet of piped shells on top of an upside-down roasting tray or another baking tray, for better heat distribution. 
  10.  Bake for 20-25 minutes, depending on the size of your shells. Carefully test if the base of the shell is ready by gently lifting one and if it’s still soft and sticking to the baking paper, then it needs to bake for a few minutes longer. 
  11. Remove from the oven and cool on the tray for a few minutes, then gently remove from the sheet and place on a wire rack to cool. 
  12. Use an edible ink pen or a skewer dipped into liquid food colouring to draw on eyes over the white circles.
Cookie Monster Macarons
For the chocolate ganache:
Note: can be replaced with this cookie dough buttercream 
100g good dark/semi-sweet chocolate, finely chopped
75ml thickened or pure/heavy cream (min 35% fat unthickened)
Mini chocolate chip cookies, to decorate
  1. Place chopped chocolate in a heatproof bowl and set aside. 
  2. Heat cream in a small saucepan on medium-low heat until it just comes to the boil and then pour over the chocolate. Leave for about 3 minutes to allow chocolate to melt. 
  3. Use a whisk to combine mixture until it is smooth. Chill, whisking it every 5 minutes to ensure it stays smooth, until the mixture thickens but is still pipable. 
  4. Place in a small piping bag (ziplock bags with a corner snipped off are handy for this), pipe on one of the blue bottom shells and sandwich with a top shell that has eyes, with a cookie wedged in the middle. Repeat with remaining shells. 
  5. Chill macarons in an airtight container overnight to allow flavour to mature. Serve at room temperature.
Cookie Monster Macarons
Print Friendly and PDF

Monday, February 3, 2014

Rhubarb & Ginger Cordial with Mint & Raspberry Ice

Rhubarb & Ginger Cordial with Mint & Raspberry Ice
I had a pretty awful week last week and it was bloody hot over the weekend, so the last thing I wanted to do was turn on my oven and bake something. I was dreaming about popsicles and icy, cool refreshments. So you'll have to excuse me for not having a dessert recipe for you this week, but instead a lovely homemade cordial that will not only make a great cold drink, but is also a fantastic cocktail mixer and will make some pretty delicious popsicles too.
Rhubarb & Ginger Cordial with Mint & Raspberry Ice
A few months ago I saw David Lebovitz's fresh ginger syrup recipe and knew that I needed to make it. Anything ginger is up my alley. I've made the original recipe many times and it is fantastic as is, I totally recommend you try it. There was obviously no point reposting his version here, but this week I had a fresh bunch of rhubarb to play around with as well, so I decided to try a version with a bit of a twist.
Rhubarb & Ginger Cordial with Mint & Raspberry Ice
While dreaming about my wonderfully cold drinks, I kept imagining cups mixed with fresh raspberries. It might seem a little excessive when you consider the price of fresh raspberries, but it looks so pretty and is so perfect for summer. So I made up a batch of ice cubes with fresh raspberries and bits of fresh mint leaves frozen into them. SO PRETTY. I included instructions below but it seems a bit silly to be writing instructions on how to make ice.
Mint and Raspberry Ice
Yep, I couldn't resist pulling out my heart-shaped ice cube tray for this. And then I realised Valentines Day is coming up shortly, so I guess this would be a great idea for that...even though I usually tend to avoid anything heart-shaped for the day because it's so overdone and cheesy. We don't really celebrate it in my house since my husband hates the day, but feel free to use this idea for your Valentine.
Mint and Raspberry Ice
Once the ice melts you have the mint which makes a great extra flavouring for the drink and you can eat the raspberries. Pretty AND helpful. I didn't have any booze in the house so I couldn't test it out as a cocktail but I imagine it would be fantastic. Rhubarb and ginger always work great together, however this is definitely a drink for people who are already a big fan of ginger (as it's rather spicy).
Rhubarb & Ginger Cordial with Mint & Raspberry Ice
I love the light pink hue the rhubarb gives the drinks when you mix it up (it's quite a bright pink in its concentrated form, which is also great). I definitely think it's worth making this up with the fancy ice cubes, and it looks so pretty in my shiny new blue-green jug and glass set! This set is actually the very first thing I bought for my new house. Not something useful like a washing machine or a bed; I bought a jug with matching glasses. I was standing there staring at the pretty blue-green glass and imagining how great they would be for serving cold drinks on my sunny new porch, so I had to get them. Of course I need to get some tables and chairs for my porch and to get rid of my ridiculous mosquito situation before I can actual realise this dream, but at least I have the pretty glasses.
Rhubarb & Ginger Cordial with Mint & Raspberry Ice
Homemade Rhubarb & Ginger Cordial
(adapted from David Lebovitz's Fresh Ginger Syrup recipe, makes about 2 cups/0.5L)
200g fresh ginger, unpeeled (you can peel it if you prefer, but my ginger was very young so it didn't need to be removed)
200g chopped rhubarb pieces (about 2cm thick pieces)
4 cups (1L) water
450g (2 1/4 cups) sugar
Pinch of salt
  1. Chop ginger into thin slices, then run knife over the slices to roughly chop it into smaller pieces.
  2. Place chopped ginger, rhubarb,  water, sugar and salt in a large saucepan. Heat to a boil, then reduce the heat to a steady simmer, and cook for 45 minutes to one hour.
  3. Let cool, then strain the cordial through a fine-mesh strainer. Store the strained cordial in the refrigerator, covered, until ready to use. (I kept mine in an airtight bottle) It should keep for about 2 weeks in the fridge.
  4. To serve; Mix cordial with water or soda/sparkling water and a squeeze of fresh lemon or lime juice. Add some mint and raspberry ice cubes (directions below) if you want to pretty it up. Adjust amount of cordial to taste, I think a good ratio of cordial to water is about 1:3 depending on how sweet you want it. Will also make a great cocktail mixer or can be mixed with water to make some fantastic popsicles.
Mint and Raspberry Ice
Fresh Mint & Raspberry Ice Cubes
1 punnet fresh raspberries
A small bunch of fresh mint leaves
  1. In your ice cube trays (heart-shaped ones are great for this), place one raspberry per ice cube space, or a rip up a few small pieces of mint leaf. 
  2. Fill trays carefully with water, you may need to gently press the raspberries down with a fork to remove any big air bubbles.
  3. Freeze until ready to serve, at least 4 hours.
Rhubarb & Ginger Cordial with Mint & Raspberry Ice
Print Friendly and PDF