I'm back! How's everyone doing? I don't know if you missed me but I definitely missed blogging on here. I just got back from my honeymoon in Europe where I had the most amazing time ever (you might have noticed if you happen to be following me on instagram) and even though I am still completely, utterly messed up thanks to the evilness that is jet leg I couldn't wait to get back into the kitchen to whip something up.
It feels so good to be excited about baking and blogging again. Right before I left for my trip I was so weary of everything and completely out of new ideas. It was nice to be forced away from updating the blog every week, to give myself some breathing room and a much needed break from my regular routine.
My holiday was packed full of so much good food; I dined at Heston Blumenthal's restaurant in London, ate ridiculous amounts of bread, cheese, foie gras and pastries in Paris, drank so many jugs of sangria with tapas every night in Barcelona and gorged myself on stroopwafels and fresh herrings in Amsterdam. Not only that, I had about 2 weeks in KL to get my fill of all my favourite Malaysian food. I'm pretty sure I'm going to be suffering from the post-holiday blues for the next few weeks while I get back into the swing of things in Sydney, but my travels did give me plenty of inspiration for new baking ideas.
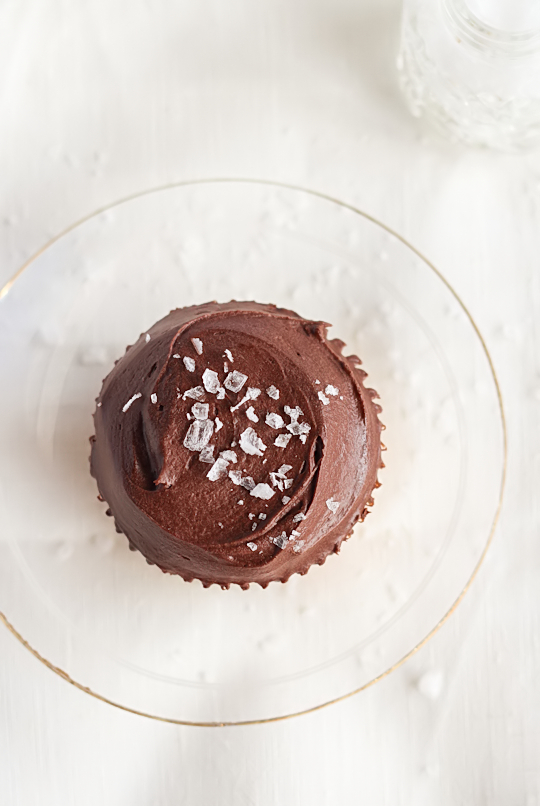
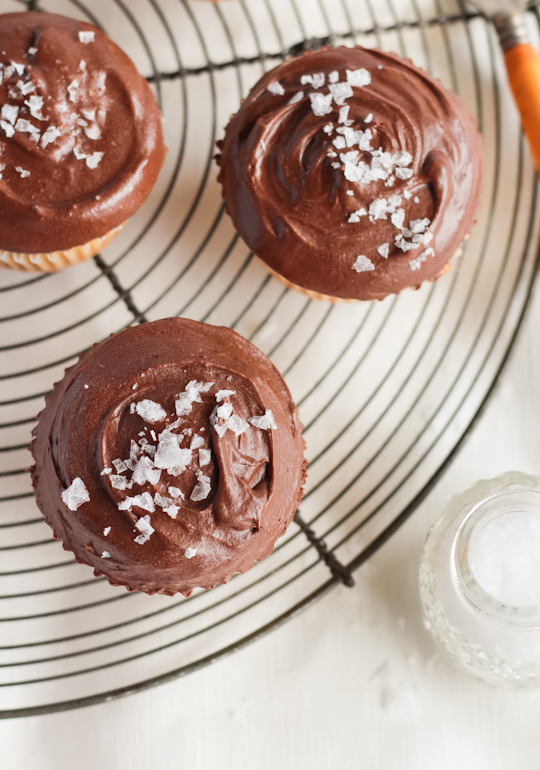
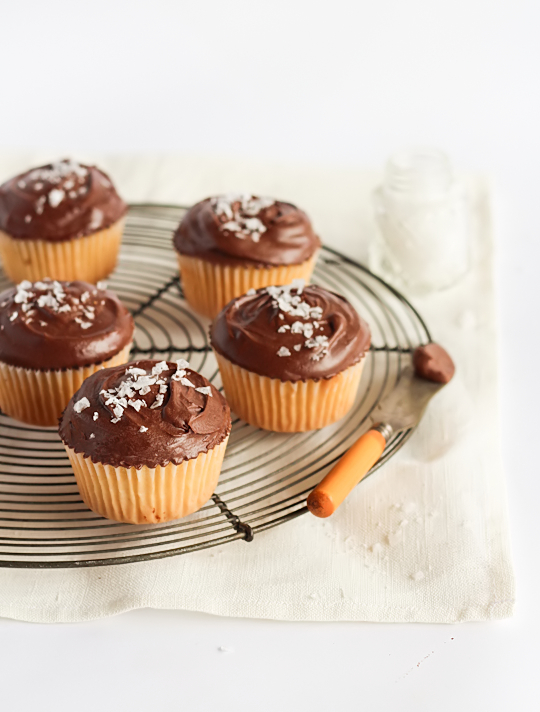
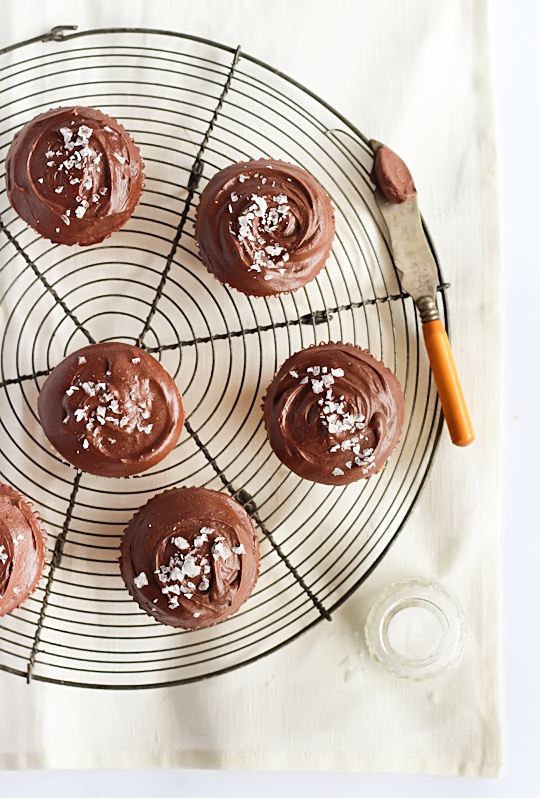
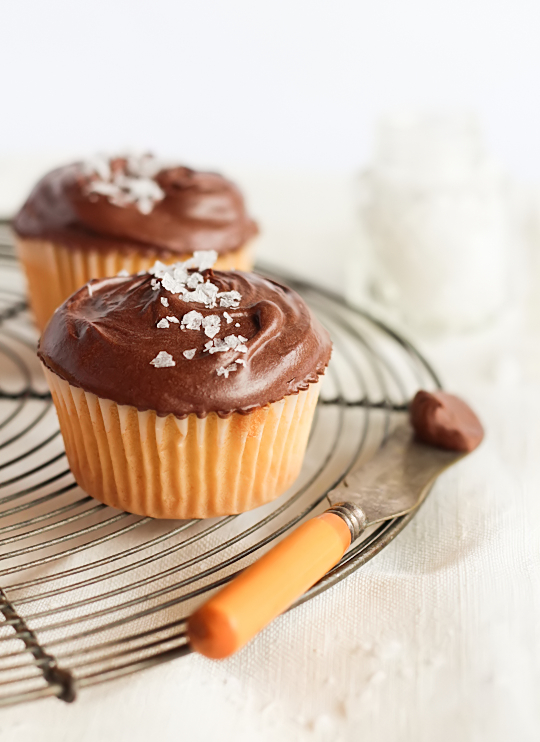
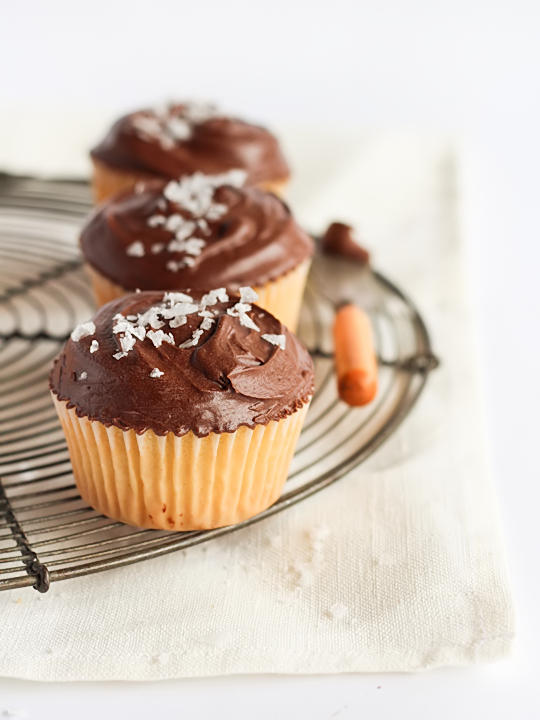
This recipe might look like nothing special, but the combination of really great chocolate, olive oil and sea salt was one I encountered a lot on my holiday and managed to make me fall in love chocolate desserts all over again. The flavours are simple but beautiful. The jet lag meant that I didn't have the energy to bother with macarons or layered cakes or fancy piping, but it didn't really need it in this case. These little olive oil cakes are super soft and moist and topped with fluffy bittersweet ganache. The sea salt on top gives it little pops of flavour that breakup the richness of the chocolate.
Along with all the dessert inspiration that I picked up along the way, we also spent a couple of days in the most charming little English town Arundel, where we visited Aaron's grandmother and I managed to pick up a few awesome props as well. There were so many amazing antiques but unfortunately I could only bring back a few small things that would fit in my suitcase and would get through Australian border security. I also had the best fish pie EVER. Anyway, I probably won't write up a post about my honeymoon since I didn't take my DSLR with me, but I will definitely make sure to share some of my stories from the trip in my future posts. It's good to be back!
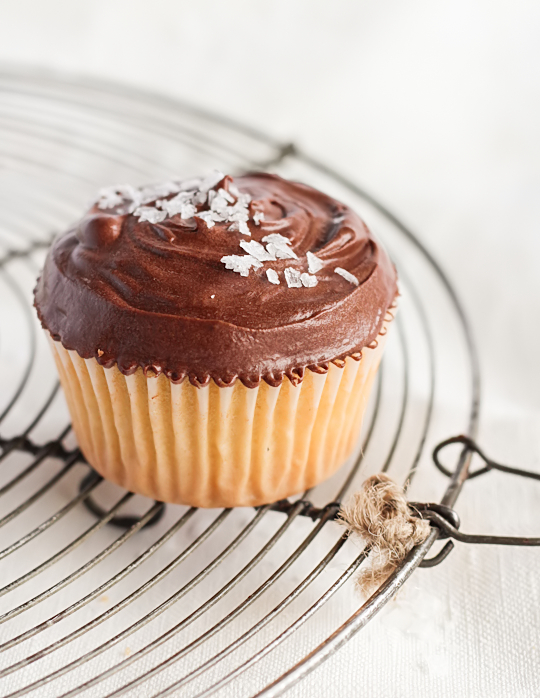
Chocolate, Olive Oil & Sea Salt Cupcakes
(makes 8-10 cupcakes, feel free to double the recipe for a larger batch, adapted from this Martha Stewart recipe)
2 large eggs
1 large egg yolk
110g (about 1/2 cup) sugar
1 packed tsp finely grated orange zest
1/2 cup extra-virgin olive oil
2/3 cup cake flour (not self-rising, I made my own using these instructions)
1/2 tsp salt
1/2 tsp baking powder
For the chocolate ganache:
200g (7oz) good quality dark chocolate, finely chopped
150ml (about 2/3 cup) pure/pouring cream (or heavy whipping cream in the US, min 35% fat unthickened)
Optional: 1/2 cup icing (confectioner's) sugar, sifted
Sea salt, to sprinkle on top
Preheat oven to 160°C (about 325°F). Place 8-10 paper liners in a cupcake tray. Whisk eggs, yolk, granulated sugar and orange zest in a medium bowl until foamy. Add oil in a slow, steady stream, whisking constantly until combined. Whisk flour, salt, and baking powder in a small bowl. Fold into egg mixture in 3 additions. Fill cupcake papers, about 2/3 full, and bake until light gold and testers inserted into centers come out clean, about 15 minutes. Let cool in pans for 10 minutes, then turn out and cool completely on a wire rack.
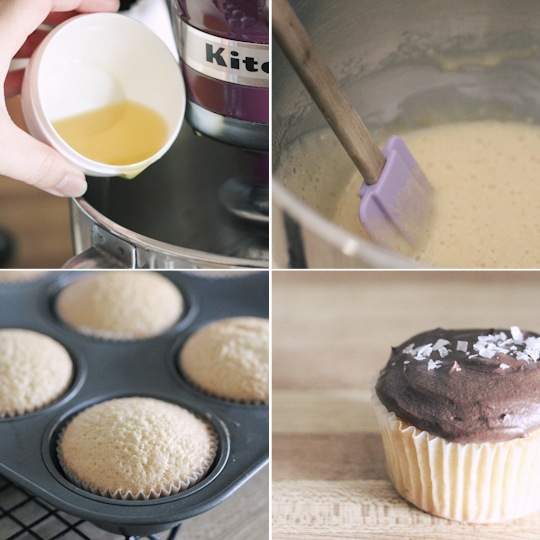
Prepare the ganache; place chocolate in a medium heatproof bowl. Gently heat cream in a small saucepan until it just comes to the boil. Pour over the top of chocolate and set aside for 5 minutes to allow the chocolate to melt. Use a whisk to stir the mixture together until smooth. Chill until it reaches room temperature and thickens. At this point you can spread the ganache over the top of your cupcakes, or if you prefer you can add the icing sugar and beat the mixture using an electric mixer to make it fluffy (beating the mixture increases the risk that it will split, so be careful not to overmix). Spoon or pipe over the top of cupcakes and sprinkle a pinch of sea salt on top. Serve immediately, or store in the fridge in an airtight container for up to 3 days.