

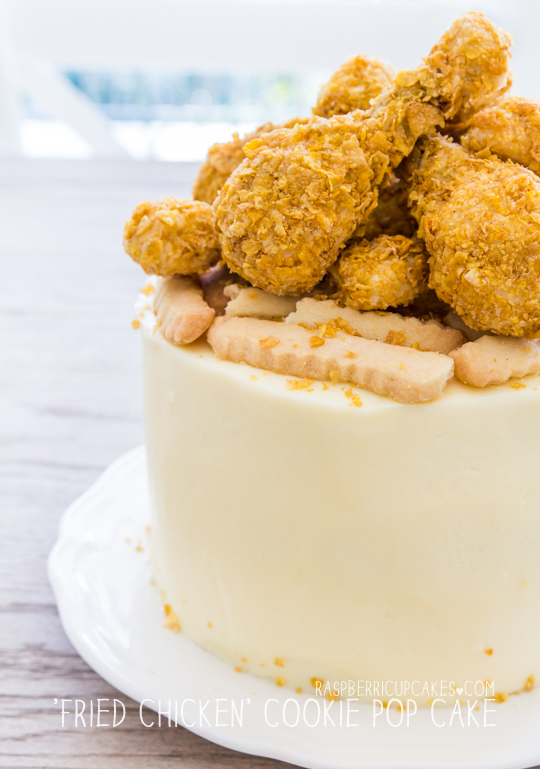
Before you say, "EW, what the eff?!" let me say this is NOT real fried chicken on top of a cake! I did not go there. It's actually cookie pops covered in cornflakes made to look just like fried chicken, with shortbread chips! But why? Last week was Karen's birthday. We love Karen. And Karen (and most us really) loves fried chicken. We were heading to Red Pepper in Strathfield for Korean fried chicken dinner, and I was tasked with bringing the birthday cake. I was struggling to think of a theme for the cake, and Suze mentioned that Karen just wanted fried chicken for dessert. Which got me thinking of this crazy idea. Imagine if I could make my cake look like fried chicken!
A quick google search showed me that I was not the first person to be crazy enough to think of this. There was this fantastic video tutorial from Haniela's for fried chicken cake pops and it was exactly what I needed. Her version is a little more complicated, as it's made with cake, and she even crafts the chicken 'bone' with white candy melts and mini marshmallows. I decided to save some time by making cookie pops instead of cake pops, saving me from baking and crumbling up a cake. Instead I used crushed white chocolate Tim Tam biscuits, mixed up with cream cheese, and milk chocolate finger biscuits as the 'bone' and covered the whole thing with cornflakes. The result was so darn realistic it was disturbing.
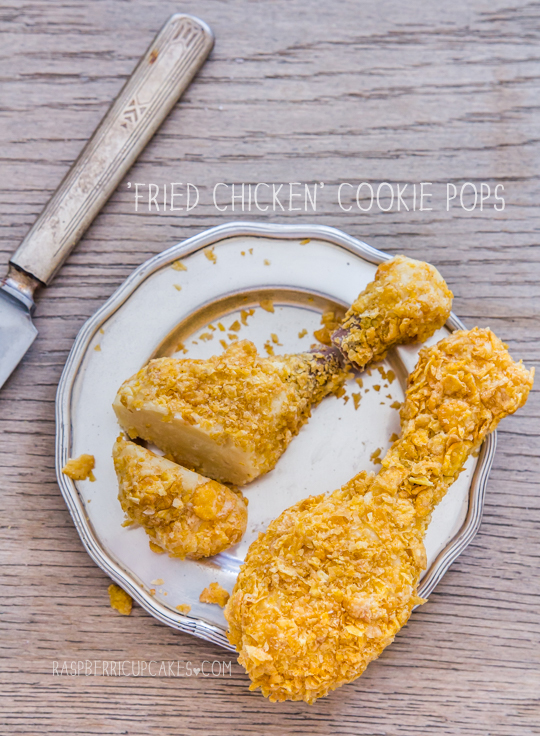
I seriously thought taking a photo of a cut up cookie pop would help prove that it wasn't fried chicken, but even the cookie pop mixture is the colour of chicken! I swear it's not really fried chicken. It's still mind boggling how realistic it looks, it's almost too realistic. It definitely managed to creep me out, and everyone who saw the cake did do a double take. But sometimes you just gotta have a little fun with your food and mess with people's heads.

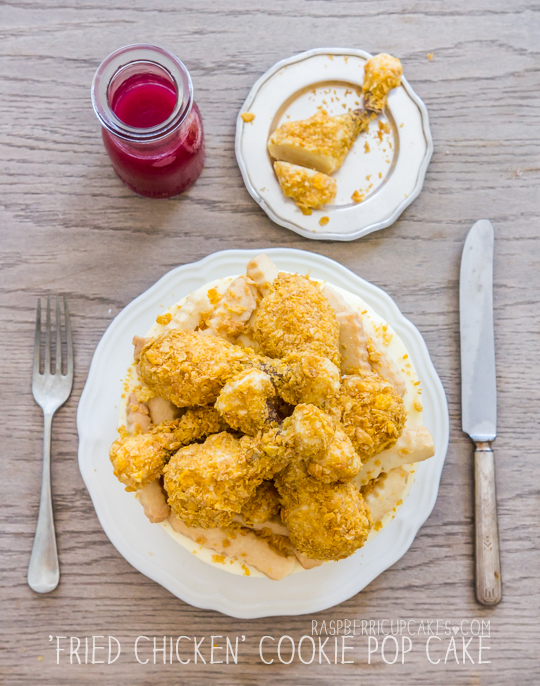
The Tim Tam cookie pop mixture is very sweet and quite rich, so if you want to use the original cake pop mixture instead, the link is below. Though I'm not sure how many people out there are as random as me and want to make cakes that look like fried chicken. Maybe for the KFC-obsessed? It's not the first time I've done something like this. I'm weird, I know. The shortbread chips tasted great, I will totally make those again. Imagine them served with a raspberry compote 'ketchup'! My instructions below are a little sketchy, so feel free to ask any questions in the comments below if you need more details!
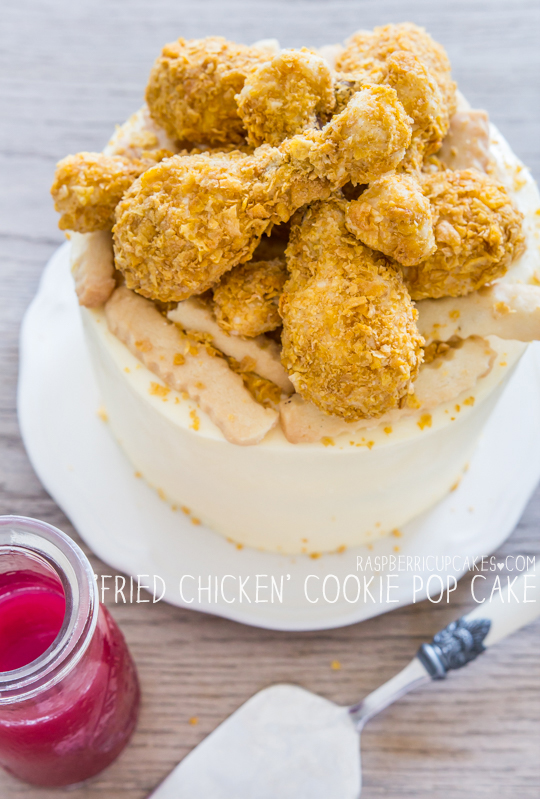
'Fried Chicken' Cookie Pop Cake
(adapted from Haniela's Fried Chicken Cake Pops)
For the 'fried chicken' cookie pops:
200g (7oz) white chocolate Tim Tams (or any other Tim Tam/Penguin/Cream-filled biscuit/cookie like Oreos)
80g (2.8oz) cream cheese, softened
1 packet Cadbury Fingers or any stick shaped biscuit (the original tutorial linked above uses similar sized pretzel sticks, if you can get them)
Icing: 125g (4.4oz) cream cheese + 30g (2 tbsp) butter, softened and 1 heaped tbsp brown sugar
Coating: 3 cups corn flakes + a pinch of ground cinnamon
- Place Tim Tams and cream cheese in a food processor and blitz until it forms a smooth paste (you will need to stop and stir the mixture a few times while the bigger pieces break up). Scrape into a bowl and chill to allow mixture to harden slightly so it is easier to handle.
- (I recommend wearing food prep gloves for this messy bit) Roll about 2 tbsp of mixture into a ball and push one of the stick-shaped biscuits into the ball. Pinch mixture to the stick into the shape of a drumstick. Also place a small ball of mixture on the opposite end of the stick biscuit. (See picture below) Place moulded mixture on a lined baking tray. Repeat with remaining mixture, I think manage to make about 10.
- Chill tray for about 45 mins (or freeze to save time), until cookie pop mixture sets and is easy to pick up and handle. Prepare icing in the meantime.
- Place cornflakes and cinnamon in a large bowl, use your fingers to break up the cornflakes into large crumbs and set aside.
- Place icing ingredients (cream cheese, butter and brown sugar) in a mixing bowl and beat until smooth and and fluffy.
- Use a small spatula or knife to spread a thin layer of icing over the surface of each chilled cookie pop, then place the cookie pop in the cornflakes and roll, pressing cornflakes into the icing so that the surface of the cookie pop is covered.
- Return covered cookie pops to fridge to set (at least 1 hour) until ready to use.
For the shortbread crinkle cut 'chips:
Follow instructions for this shortbread dough, omitting ground and candied ginger. Roll dough between two baking sheets to about 0.5 cm thickness, then use a pizza dough cutter or a pastry crimper (if you want to get that crinkle cut look) to cut strips of dough to form the 'chips'. Make sure you cut them about half the thickness of the intended size, as they will expand slightly in the oven. Follow instructions in link to bake until edges turn golden brown.

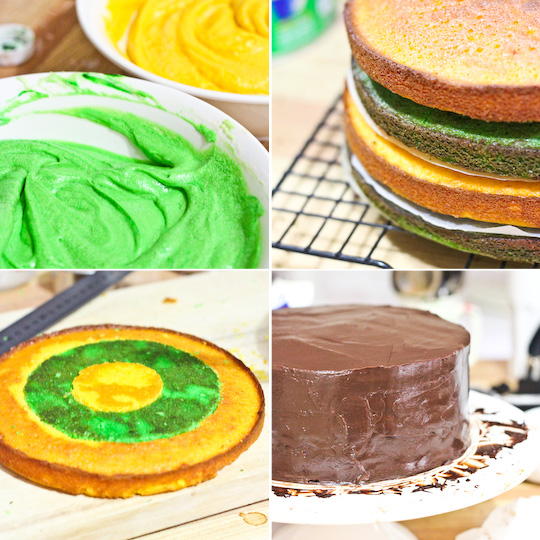
For the cake (Milo cake with milo icing and condensed milk icing):
- Follow the instructions for this Devil's Food Cake recipe, using three 15cm (6", this is what I used) or 18cm (7", will result in slightly thinner layers). round cake tins Optional variation: I replaced the 9 tbsp of cocoa powder with 2 tbsp cocoa powder and 7 tbsp milo powder (you could also use Ovaltine) to make it a Malted Devil's Food Cake.
- Beat 200g (1 & 3/4 sticks) salted butter (softened) with 3 cups (375g) icing/powdered sugar, and half a cup of milo powder in a mixing bowl with an electric mixer on high until fluffy and spreadable. Use a serrated knife to level the tops of cakes. Place one layer of cake (upside-down) on cake plate and use an offset spatula to spread a thick layer of icing over the top of the cake. Repeat with remaining cakes and icing.
- Beat 300g (2 & 2/3 sticks) salted butter with 1 can (395g) condensed milk and 500g (4 cups) icing/powdered sugar until light and fluffy (you may need to adjust icing sugar amount until desired icing texture is achieved, you want it to be spreadable but stiff enough to hold its shape). Crumb coat cake with some of the icing and then chill for about half an hour. Use offset spatula to cover cake in another layer of icing and smooth (run spatula regularly under hot water to achieve a smoother result)
- Top cake with shortbread chips and fried chicken cake pops and chill. Remove from fridge at least half an hour before serving to allow to come back to room temperature. Can be stored in an airtight container in the fridge for several days.


