Tuesday, November 10, 2009

Ice Cream Cone Cupcakes (with popping candy!)

conecupcakes-16
It all started with these tiny ice cream waffle cones. I picked them up during our walking tour of Surry Hills, and immediately started thinking up all sorts of crazy things to do with them. But I've had a bit of a baking block recently and so these little cones were relegated to the back of my baking shelf and forgotten about for a week. Then I woke up the other morning and just started running around my kitchen randomly grabbing things, determined to come up with something sweet to bring to Lex's, since he was cooking an awesome dinner for us.
conecupcakes-3
Aren't they adorable?
I wasn't sure what I was making until I was about halfway through. My original plan was to somehow fill these cupcakes with neopolitan flavours - vanilla, strawberry and chocolate, but I kept changing my mind about how I would incorporate all these flavours. Strawberry mousse? Vanilla marshmallows? Chocolate fairy floss? In the end I kept it simple, but yummy (of course) and sure to make you giggle like a little kid.
conecupcakes-13
The cones were filled with vanilla white chocolate, and then topped with a strawberry flavoured popping candy. I then pulled out Nigella's faithful old-fashioned chocolate cake recipe to bake super moist mini-cupcakes which were shoved on top of the cones and then coated in melted chocolate. I couldn't decide how to top them off, so I experimented with more popping candy and multicoloured sprinkles. The sprinkles probably looked much prettier, but there's always more fun when there's popping candy involved!
conecupcakes-14
Though they were fiddly and messy to make (my kitchen was covered in chocolate and popping candy, to the point where my entire counter top and sink were cracking and popping away when I was wiping up), the final result was so cute! The surprise load of popping candy in the centre was definitely a crowd pleaser, everyone was saying "What crackling candy?" after first biting into it, followed by "Ohhh!!!" and much giggling ensued. And though I love my cupcakes, I definitely need to get my hands on more of these little cones so I can experiment with different desserts :)
conecupcakes-15
Ice Cream Cone Cupcakes
(cake recipe adapted from Nigella Lawson's Old Fashioned Chocolate Cake)
15 mini waffle cones
150g vanilla white chocolate (I used Green & Blacks Organic chocolate since it already had vanilla beans in it, you could probably melt regular white chocolate and mix in vanilla bean if you can be bothered)
Popping candy (strawberry flavoured if you can find it, if you can't get any you could always try using sherbert instead!)
100g plain flour
100g caster sugar
1/2 tsp baking powder
1/4 tsp bicarb soda
20g Dutch process cocoa powder
85g unsalted butter, softened
75g sour cream
1 large egg
1 tsp vanilla extract
100g good quality dark chocolate
conecupcakes-4
I'm a lazy bum, so I didn't bother melting my vanilla white chocolate over a double boiler. Instead I broke it up into small pieces and stuck it in the microwave on high for 30 seconds at a time and then stirring it, and kept doing this until it was nicely melted. Using a small spoon and drizzle the chocolate into the base of the mini cones (yes that really is an empty herb bottle that I used to hold up the cone while I worked with it). Fill these about 2/3 full. Set the cones aside to cool standing upright.
conecupcakes-5
Preheat oven to 180 degrees C. Place flour, sugar, baking powder, bicarb soda, cocoa, butter, egg, vanilla and sour cream into a food processor and pulse until all the ingredients come together and you have a smooth, thick batter. Yes it really is that easy!
conecupcakes-6
Spoon the batter into a lined mini muffin tray (about 2/3 full) and bake for about 10 minutes or until a skewer comes out clean and the cake springs back slightly under your finger when you press it gently. Remove from the tray and cool completely on a wire rack.
conecupcakes-7
This should make about 24 mini cupcakes, which is more than you need, but that's okay because you need to taste test and it's good to have extra incase you stuff up! Remove the cakes from their papers. If you really don't think you will be able to squeeze the bottoms of the cakes into the tops of the cones you can use a sharp knife to trim the edges of the cakes so they will fit.
conecupcakes-9
While the cakes are cooling, fill the cones with popping candy. Be careful not to let moisture get to the candy, or they won't pop later on. I used a mini funnel to avoid getting candy all over the floor.
conecupcakes-2
Make sure you leave about half a centimetres space at the top of the cone so that you can wedge your cupcake on top! I was lucky enough to find this new strawberry flavoured popping candy in the ice cream topping section on my supermarket. It was perfect!
conecupcakes-10
Grab your cooled chocolate cakes and gently squeeze them into the tops of the cones. They are very crumbly, so it is easy to squeeze them too hard and for them to break into pieces. It's okay if this happens, remember you have extra! Gently pat them into a nice round shape.
conecupcakes-11
Melt your dark chocolate in the microwave, the same way that you did for the white chocolate. Do this in small batches (I did four squares of a chocolate block at a time) so that it doesnt get too hard while you are coating the cake. Since the cake is very crumbly, the hot melted chocolate can make it fall apart if you are too rough with it. I used a small teaspoon to gently pour and spread the melted chocolate over the tops of the cake, and ensured that it reached the tops of the cones, to help secure the cake in place. A little bit of chocolate dripping down the cone is okay, it looks tasty :D
conecupcakes-12
Leave them aside for a couple of hours to set, I actually ended up using beer bottle tops to keep them standing up while they cooled! You could also just get styrofoam or make a makeshift carry tray like I did - I grabbed a small cardboard box and used a steak knife to stab a bunch of holes into the lid to stick the cones into. It worked as a perfect transport to get to dinner, and much less weirder than carrying a dozen beer bottles!
conecupcakes-17
Of course the curious food bloggers wanted a cross-sectional shot of the cones, so this is the result of Richard's clean cutting skills and Simon's neatening-up, thanks guys! These are best eaten on the day you make them, the cones went pretty soggy the next day but that might not have happened if I had refrigerated them. My favourite part of eating the gooey chocolate covered cake and then being surprised by the big mouthful of popping candy straight after. Can you tell I love to channel my inner child a lot?
conecupcakes-18
My makeshift cone carrier!
P.S. This post is for Julie, for getting the summer internship. Hurray!
Print Friendly and PDF

Thursday, November 5, 2009

Peanut Butter & Grape Pinwheels

pinwheels-15
The boy wanted biscuits. I'm not usually one to indulge his every whimsy but I'll use any excuse to try something new. So I came up with another one of my crazy ideas. I wanted to try baking with this great peanut butter substitute that I came across at Coles not long ago, FreeNut Butter - it tasted like peanut butter but it was made from sunflower seeds. According to the boy, if I had put the smooth version in a peanut butter jar he wouldn't have noticed the difference. The chunky version is a little more obvious since there are whole sunflower seeds in it.
pinwheels-11
So what flavour to pair with peanut/freenut butter? I went with that silly kid-friend fake grape flavour, channeling the whole PB&J theme. I couldn't help being attracted to this grape bubble gum flavoured cordial in the supermarket called Gubble Bum which I thought was the funniest name I'd seen in a while. Usually I'm not a huge fan of fake fruit flavours, but I was a sucker for grape bubble tape as a kid and this tasted just like it. Unfortunately the grape flavour in these shortbread-style biscuits was a little over-powered by the peanut butter, but I made up for it by glazing them in grape-flavoured icing later.

Peanut Butter & Grape Pinwheels
(Yield: About 30 biscuits)
250g plain flour
1 tsp baking powder
2 pinches of salt
1 egg
110g butter softened
140g caster sugar
1-2 tbsp chunky peanut butter (or free-nut butter if you're allergic like me :D)
1-2 tbsp grape cordial
Icing sugar
Purple (or red and blue) food colouring
pinwheels
Beat butter and sugar together until light and creamy. Add egg to mixture and beat until combined. Split this mixture into two separate medium mixing bowls. Add 125g plain flour and 1/2 tsp baking powder + 1 pinch of salt to each mixing bowl. Then add purple food colouring (I added 4 drops red and 2 drops blue) and a tablespoon of grape cordial to one bowl. . Stir until the mixture forms a smooth dough. If the mixture is looking too dry and crumbly, add more grape cordial.
pinwheels-2
Add 1 tablespoon of peanut butter to the other mixing bowl and stir to form a smooth dough. If the mixture is looking too crumbly (mine was), lay out a sheet of baking paper, wet your hands under the tap and knead the dough over the baking paper until it is smooth and easy to roll out. Roll out the peanut butter dough on the baking paper until it is about 15 x 30 cm (if the dough is sticking to the paper, dust the surface with icing sugar first).
pinwheels-3
Knead the grape flavoured dough and then roll out on another sheet of baking paper. Roll this out to the same size as the peanut butter dough. Gently lift the grape dough and turn it upside down over the peanut butter dough so they line up and then peel the top layer of baking paper off.
pinwheels-4
Using the baking paper underneath as a guide, very carefully and tightly roll up the two layers of dough on the long side to form a cylinder. If cracks start to form try to pat the dough back together but small cracks shouldn't be too much of a bother. Refrigerate the dough for at least 30 minutes.
pinwheels-5
Preheat the oven to 180 degrees C. Remove the dough from the fridge and use a sharp knife to slice out your cookies, about 0.5 cm thickness. If the cookies crack around the edge as you cut, carefully pat the dough back together.
pinwheels-6
Place cookies about 3cm apart on a lined baking tray and then bake for 12-15 minutes, or until golden on the outside. Rotate the tray halfway through to ensure they bake evenly.
pinwheels-7
Remove from the tray and cool completely on a wire rack. If you would like a bit more grape flavour in the biscuits, dissolve 1/2 cup icing sugar in 1-2 tbsp of grape cordial and dip one side of the biscuits into the icing.
pinwheels-8
Keep in mind that I was putting this recipe together from scratch so I had no idea if it would work or not. In the end the only thing that bothered me was that the peanut butter had made it quite salty so I have adjusted the amount of sugar in the recipe accordingly. I made up for it by glazing them with the grape flavoured icing which was pretty nice actually! I wasn't too pleased with them straight out of the oven, but the next day they were fairly well received and my second taste was more pleasant than I had remembered. Plus those spirals are so cute :)
pinwheels-10
Print Friendly and PDF

Saturday, October 31, 2009

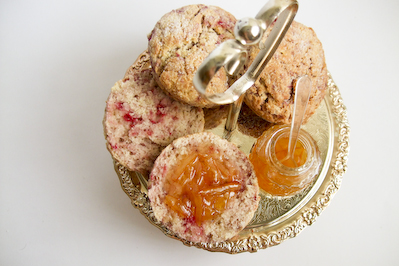
Raspberry Cream Cheese Scones


It was hard to snap myself out of my macaron baking frenzy. But then I realised, there has not been anywhere near enough scones around here lately! So why not another scone recipe, before everyone forgets that I'm the scone-mad girl who eats them for dinner. Not that I ate these for dinner, but they were really good and it was a tempting thought! There's something so relaxing and comforting when I go back to baking scones, no matter how bad my day/night/week/month has been everything feels better when I'm covered in flour and the smell of them baking in the oven permeates through the house.

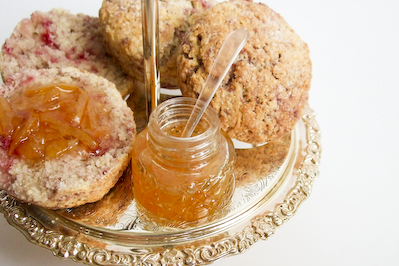
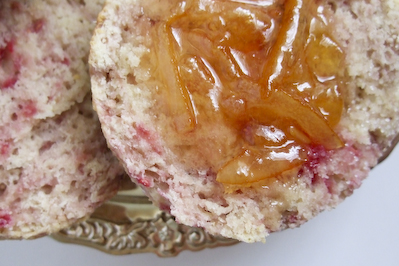
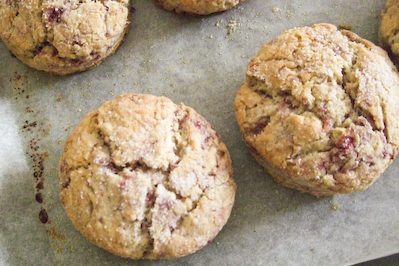
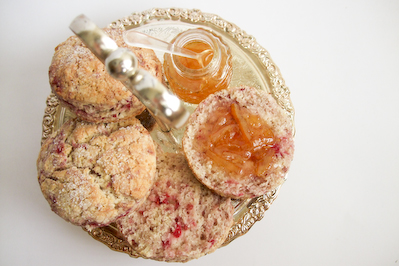
The raspberries in these gives them a wonderful pink tinge of colour, I seem to be baking a lot of pink things lately. The cream cheese makes them extremely moist and rich (and is a useful way of using up leftover cream cheese if you just made a coffee crunch cake) and were just perfect with some of the homemade lemon marmalade I had in my fridge (thanks Tomred!). These were not too sweet but had a lovely crunchy sugar top, with a hint of tartness from the berries, more like richer, eggy, cake-like scones than the fluffy cream scones I've been making recently. To be honest I still can't decide which I prefer!

Raspberry Cream Cheese Scones
(yield: approx. 8 scones)
2 1/4 cup plain flour
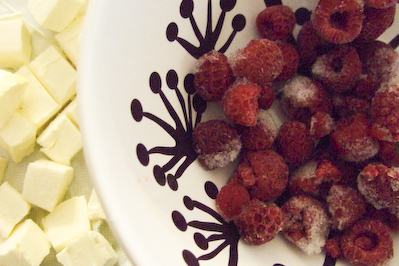
75g butter, cold and cut into small pieces
1/2 cup caster sugar
2 tsp baking powder
1/4 tsp salt
90g cream cheese, softened
1/3 cup milk
1 egg, lightly beaten
1/2 cup fresh or frozen (thawed) raspberries
Optional: Granulated sugar for sprinkling

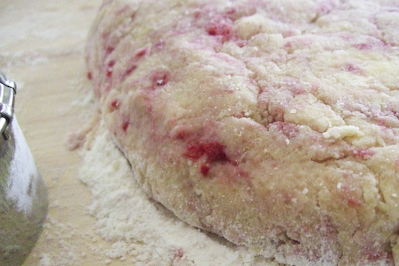
Preheat oven to 200 degrees C. Carefully stir cream cheese, milk and egg in a medium bowl until combined. Sift flour, baking powder, salt and sugar in a large mixing bowl and then rub cold butter into the dry ingredients until the mixture resembles fine crumbs. Form a well in the centre of the crumbs and add the wet mixture plus the raspberries to the bowl. Carefully and quickly mix together, avoid crushing the raspberries too much.

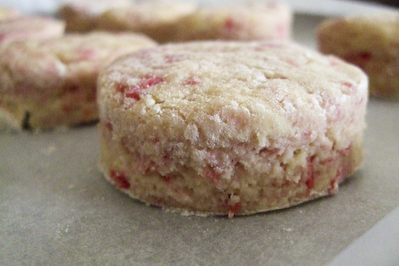
Gather dough together with well floured hands and pat into a 1 inch thick circle on a well floured surface. Cut dough using a 5cm scone cutter (any round, thin rimmed, floured water glass will work as a substitute), and place on a line baking tray.

Carefully pat together any of the scraps to recut, but do not overwork the dough or the scones will be tough. Sprinkle tops of scones with sugar and then bake in oven for about 20 minutes or until golden and cooked through.

Serve on their own, or with fresh cream and/or jam.

Print Friendly and PDF

Tuesday, October 27, 2009

Ice Kacang Macarons (Rose Syrup & Sweet Corn Macarons) - Daring Bakers Oct 2009


The 2009 October Daring Bakers’ challenge was brought to us by Ami S. She chose macarons from Claudia Fleming’s The Last Course: The Desserts of Gramercy Tavern as the challenge recipe.

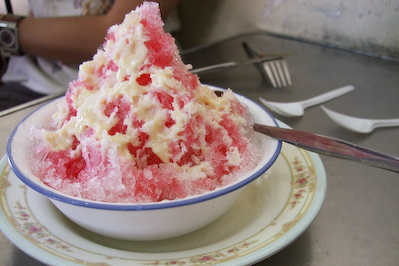
I've gotta tell you my eyes nearly popped out of my head when I saw what this months challenge was. It was a freaky coincidence that I had just recently attempted macarons for the first time and my confidence was so boosted by that initial success that I had been planning to attempt them again the very weekend that this challenge came out. I had been saving this flavour idea for when I was more experienced, but I took this as a sign that I should just leap in head first and attempt my crazy idea. Now keep an open mind about this, it might sound extremely weird but trust me, it tastes so amazing. Ice kacang (or ais kacang) is a fabulous Malaysian dessert made of shaved ice, thick and bright pink rose syrup, creamed sweetcorn, evaporated milk and other extra sweet things such as grass jelly and palm seeds. It's wonderfully sweet and refreshing and the perfect dessert for the humid Malaysian weather.

Ice Kacang
Many countries in South East Asian use sweet corn in desserts, ice kacang and sweetcorn ice cream being two of my favourites. But mention it to people who haven't grown up with it and they will usually raise their eyebrows in disbelief. I even remember one person saying, "I can't think of anything except chicken and corn soup when I think of sweet corn. It doesn't belong in a dessert!". But seriously people, don't knock it until you've tried it. The sweetness of the corn really makes it the perfect flavour for a dessert. So here was my idea: A rose syrup flavoured biscuit with a sweet corn and evaporated milk buttercream, et voila - Ice Kacang Macarons!

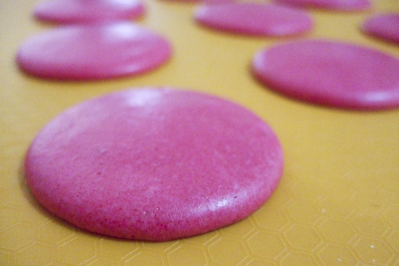
I realised afterwards that my first two Daring Bakers' challenges have been Malaysian-themed, but I had to do this flavour! It turned out to be a fairly traumatic and exhausting experience getting these right. First of all, I had serious issues with the recipe we were meant to use for this challenge. There just seemed to be too much egg white for the amount of dry ingredients, and the amount of sugar we had to beat into the egg whites seemed dangerously small. I attempted the recipe twice with the exact measurements given in the DB recipe and both times were EPIC failures. They were bubbly and cracked without the slightest hint of feet. Wasting 10 egg whites like that was pretty upsetting and I was ready to give up on the whole thing but I decided to give it one last go. I adjusted the ratios so there was more granulated sugar and more dry ingredients (and less egg whites in case it failed again!). And hurrah it worked! I was dancing madly around my kitchen doing what is now known as the 'feet dance', because right in front of my eyes were smooth pink macaron shells with FEET!

I still did a couple more batches after that, tweaking it here and there to get the right colour and flavour. It was really difficult to get the rose syrup flavour into the macarons, unlike rose water it is a very subtle rose flavour and I didn't want to add too much of it to the meringue because it would upset the water balance. I ended up having to spread the rose syrup out on a tray and baked it in my cool oven to evaporate some of the water from the syrup before adding it to the meringue. But it was worth the effort, the biscuits had that distinctive sweet rose syrup flavour infused into it, without being overpowered by the flavour of the almond meal. Note: Rose Syrup is NOT the same as rose water. Rose water is clear and has a much more concentrated floral flavour, while rose syrup is like red cordial with a hint of rose flavour. I also wanted that really vibrant pink colour that you see in the rose syrup, so I was lucky to get my hands on some pink powdered colouring. Though I may have added a tad too much, I freaked out a little when I saw how bright pink it went! But it seemed fitting in the end, and I really loved the final look of them.

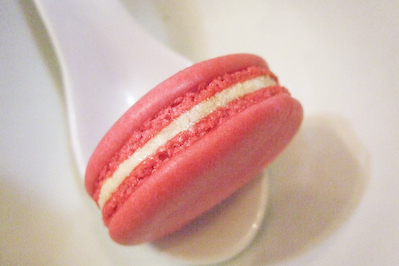
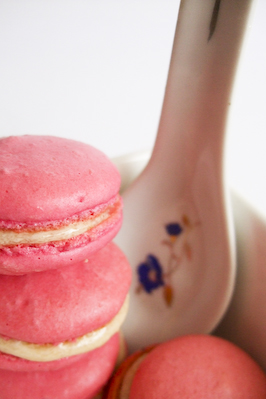
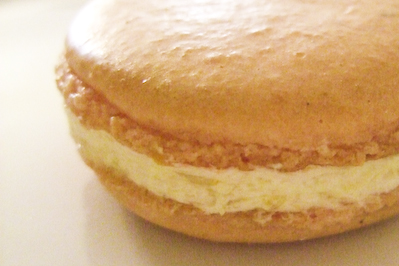
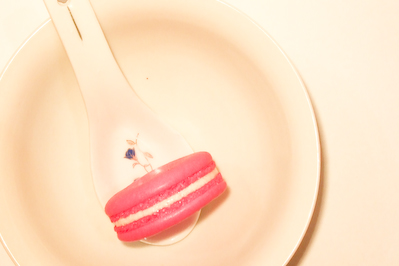
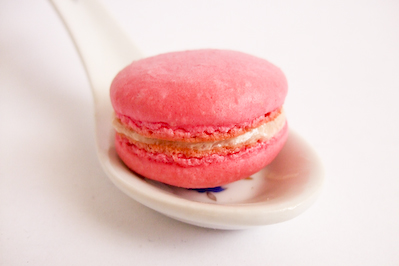
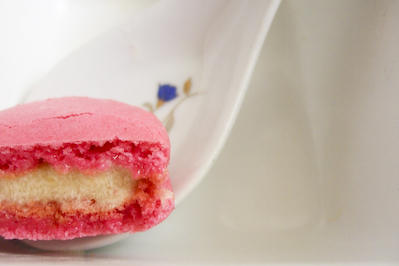
Then, disaster struck. I had just dumped my final shots of my macarons off my camera onto my laptop, only to have the hard drive crash before I had a chance to upload them. After several painstaking hours attempting to recover those photos off my drive, I was left with corrupted jpg files that I could preview, but couldn't actually open. It was cruel and torturous, I could see them but I couldn't touch them! So I had no choice but to try making them again at the last minute. Unfortunately my last batch (third photo) were not quite as pretty as the ones from before (first photo), so I was feeling quite defeated. I think it will be a long time before I make this flavour again, as delicious as it is, after making 5 or so batches I'm totally sick of eating them! My boyfriend and workmates didn't mind though, A enjoyed the sweetcorn buttercream so much that he was eating it straight out of the mixing bowl. And all my workmates who hadn't tried sweetcorn in a dessert before totally loved them.

You're also probably wondering how I was able to complete this challenge with my nut allergy. Lucky for me I realised not long ago that I could get away with eating a few macarons without having any reactions, it seems that my allergy to almond meal is very mild. Such a relief! Anyway, I'll give you the original recipe as it was meant for the DB challenge, but I'll also include any adjustments I made during my tweaking so what you chose to use is up to you. I found Syrup and Tang's macaron articles were total life savers when it came to figuring out what I was doing right and wrong with my macarons.

Ice Kacang Macarons (aka Rose & Sweet Corn Macarons)
(adapted from Claudia Fleming's The Last Course: The Desserts of Gramercy Tavern)
Original Ingredients:
Confectioners’ (Icing) sugar: 2 ¼ cups (225 g, 8 oz.)
Almond flour: 2 cups (190 g, 6.7 oz.)
Granulated sugar: 2 tablespoons (25 g , .88 oz.)
Egg whites: 5 (Have at room temperature)

I used:
205g Icing sugar (blitzed in a food processor to remove any lumps)
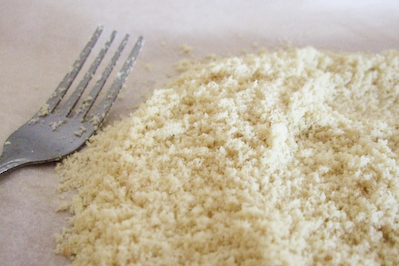
120g Almond meal (spread out on a oven tray and dried out in a cool oven for 10 mins)
50g granulated sugar
3 large egg whites (aged in the fridge for 48 hours, approx 100g)
1/8 tsp pink powdered food colouring
1 tablespoon rose syrup (spread out on a pyrex plate and baked in a cool oven for 5 mins then cooled until thick, this is not the same as rose water!)
Directions:
1. Preheat the oven to 200°F (93°C). Combine the confectioners’ sugar and almond flour in a medium bowl. If grinding your own nuts, combine nuts and a cup of confectioners’ sugar in the bowl of a food processor and grind until nuts are very fine and powdery.
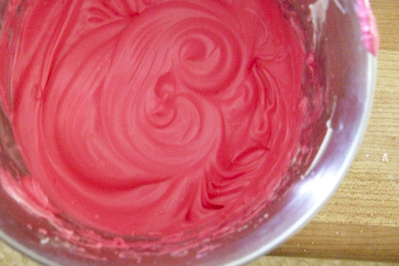
2. Beat the egg whites in the clean dry bowl of a stand mixer until they hold soft peaks. Slowly add the granulated sugar and beat until the mixture holds stiff peaks. (Right before the mixture reached stiff peaks I added my food colouring and concentrated rose syrup to the mixture)
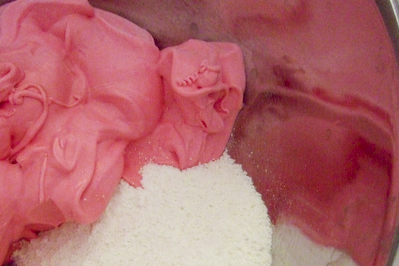
3. Sift a third of the almond flour mixture into the meringue and fold gently to combine. If you are planning on adding zest or other flavorings to the batter, now is the time. Sift in the remaining almond flour in two batches. Be gentle! Don’t overfold, but fully incorporate your ingredients. (This was the most critical part of the recipe for me. I was NOT gentle, but instead really beat the air out of the mixture as I incorporated the almond meal. If I didn't I found the mixture turned out really bubbly and without feet. It's really important to know when to stop mixing, and even in my last batch I underbeat my mixture because I'm still super scared about over mixing. For me the mixture was ready when I could drip a line of mixture onto the top of the rest of the mixture and it would disappear after a minute.)
4. Spoon the mixture into a pastry bag fitted with a plain half-inch tip (Ateco #806). You can also use a Ziploc bag with a corner cut off. It’s easiest to fill your bag if you stand it up in a tall glass and fold the top down before spooning in the batter.

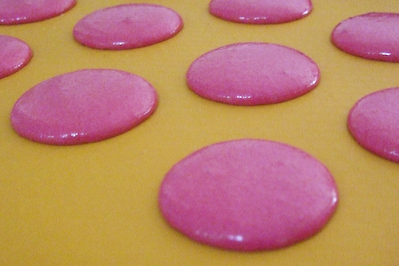
5. Pipe one-inch-sized (2.5 cm) mounds of batter onto baking sheets lined with nonstick liners (or parchment paper).
6. Bake the macaron for 5 minutes. Remove the pan from the oven and raise the temperature to 375°F (190°C). Once the oven is up to temperature, put the pans back in the oven and bake for an additional 7 to 8 minutes, or lightly colored.
7. Cool on a rack before filling.

After the first 5 min bake

Some batches had mini feet after the first cool bake


After the final bake

For the buttercream:
110ml evaporated milk
100g sugar
37g plain flour
112g butter, softened
1/4 cup creamed corn
1/2 cup icing sugar, sifted

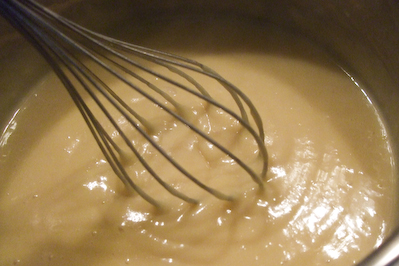
Combine the flour and sugar together in a medium saucepan. Gradually pour in evaporated milk, stirring as you go to remove any lumps (using a whisk will make this easy).

Heat this milk mixture over medium low heat until it almost comes to the boil, stirring constantly. Reduce heat to low and continue to stir constantly for several minutes until mixture becomes thick and hard to stir. Allow to cool completely.

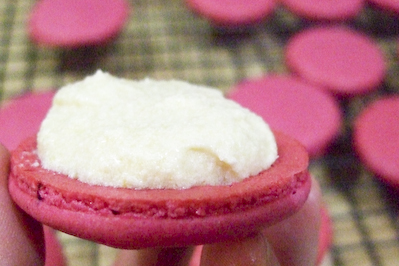
Beat softened butter in a large mixing bowl until it is pale and creamy. Slowly add the milk mixture and continue beating until smooth. Add sweet corn and icing sugar and beat until combined. Take care not to overbeat at this point or the mixture can split. If mixture is still very runny you can add more icing sugar. Allow to cool in the fridge and then spoon mixture onto macaron shells.

I had some serious issues with my last batch of buttercream which I made. The mixture split and was super runny, so the photos I took at the last minute to try and make up for all the great photos I lost were kind of terrible. I really didn't have the energy to try again, so the photos in this post are the best that I could scrounge up from the scraps of photos I managed to recover.

Batch #1: Before I had powdered food colouring


Batch #2: So freakin happy with these.


Batch #3: Last minute panic batch, a little undermixed

In the end, I feel so much more confident about baking macarons. Thank you so much to Ami for choosing it for this month, it really was a great challenge. It pushed me as a baker and I will definitely be experimenting with more flavours and techniques in the future. Plus they were so yummy that I couldn't stop eating them! I am officially obsessed.

Print Friendly and PDF