
I really do love making super tall cakes. I don't get sick of them. The possibilities are endless and they are always so PRETTY. This particular cake was for my sister-in-law's birthday last week, and I served it on top of a stand full of the macarons that I made in last week's post. Her only request this year was that my macarons be involved in some way and that there were also some of her favourite chocolate bars. Ask and you shall receive! (Apologies in advance for some of the blurry, lazy photos. I had to quickly shoot this as the sun was setting on a weekday.)
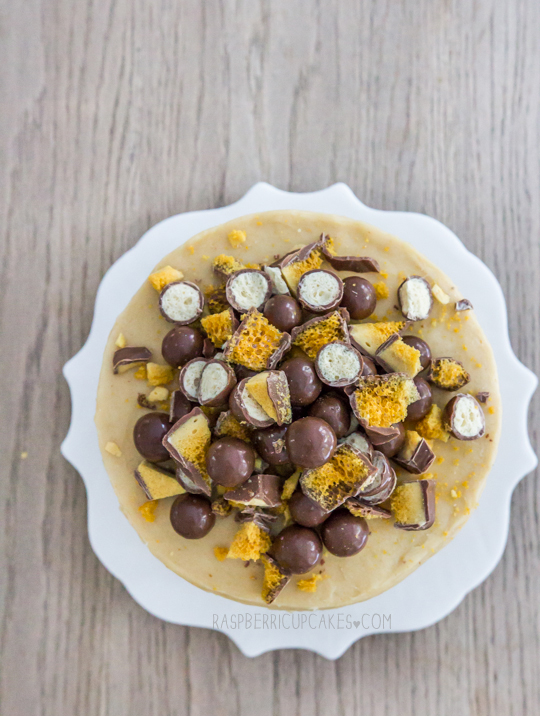
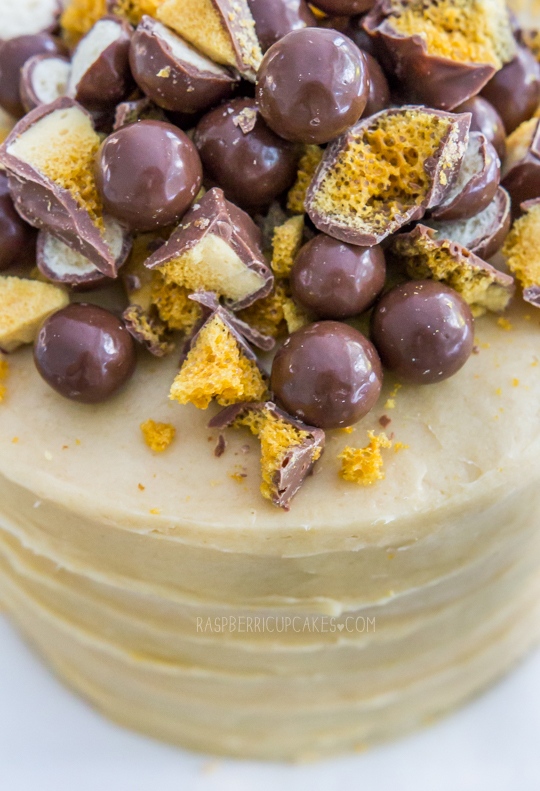
Now the chocolate made things a little tricky since my mother-in-law can't eat it, so to be fair I made sure the cake was piled high with Maltesers and Crunchie but I kept all the chocolate out of the actual cake itself so that everyone could enjoy it. I also added a surprise between the layers of the cake by adding pieces of crushed honeycomb (without chocolate) in the icing (a very delicious trick that I learnt from The Dainty Baker last week while tasting her amazing cake flavours, thanks Rhonda!). If you're interested, there's a crappy iphone photo of the fully assembled cake on my instagram.
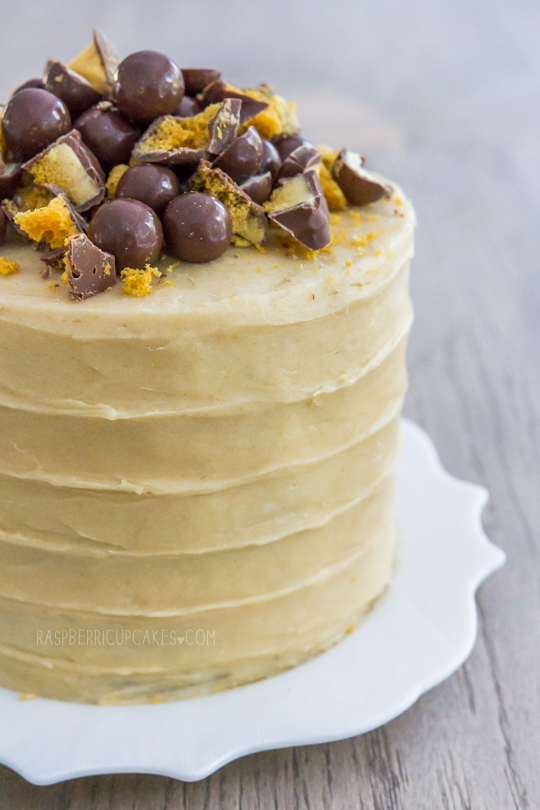
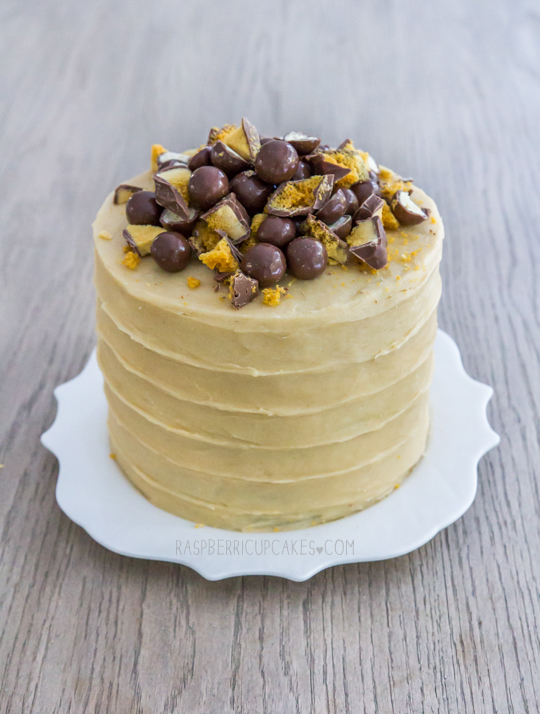
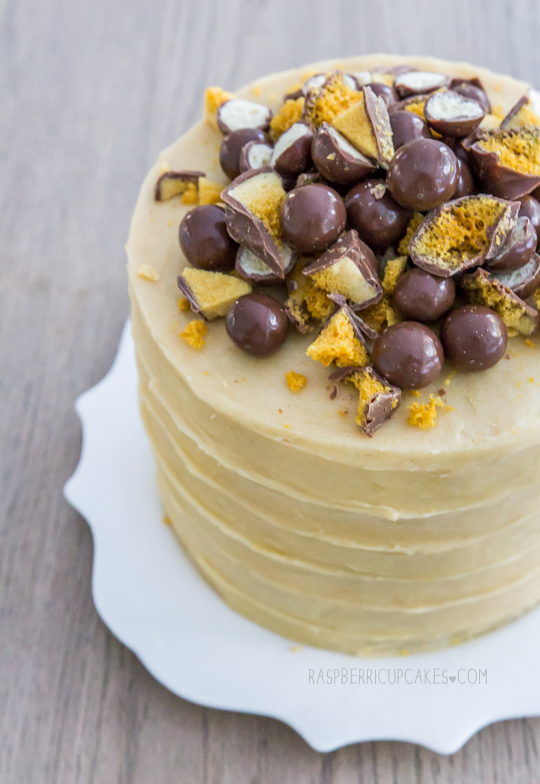
I made my usual fluffy vanilla bean cake, based off the yellow cake from Le Cordon Bleu Complete Cooking Step-by-Step. Somehow, this is the best version I have ever made from this cake. It helped that I had all my ingredients at room temperature, and I took my cake out the minute it was just cooked through so that it was still super, super soft and fluffy even after sitting in the fridge overnight. To match the Vanilla Malt Macarons from last week, the icing was made with malted milk powder, a delicious sweet and salty combination that is perfect for a large amount of icing since it's not overly sweet. I made the mistake of choosing to decorate the side of the cake with that big swirly spiral effect that you get from running your offset spatula around your cake from top to bottom. Once I started doing it, I remembered why I've never done it before. It's bloody hard to do unless you have a handy cake turntable! It was a messy and very slow process, and the cake ended up having a slight lean to it because I was pressing on the sides so hard. It wasn't too noticeable thankfully, and the cake went down really, really well. It's a crowd-pleaser for sure.
Vanilla Cake with Malt Icing, Honeycomb and Maltesers
(makes a tall 3-layer 15cm (6") cake or a shorter 3-layer 18cm (7") cake)
For the cake:
355g (about 2.5 cups) plain/all-purpose flour
4 tsp baking powder
1/2 tsp salt
225ml (about 1 cup minus 1 tbsp) milk
2 tsp vanilla extract or scraped seeds from 2 vanilla bean pods (I used 1 tsp extract and the scraped seeds from 1 vanilla bean pod)
350g (about 1 & 3/4 cups) sugar (granulated or caster)
225g (2 sticks) butter, softened
4 eggs
- Preheat oven to 180°C (350°F) and grease three 15cm (6 inch) (or 18cm (7 inch), cake will be shorter) round cake tins. Line the base of the tins with baking paper.
- Combine flour and baking powder in a medium bowl and set aside. Mix milk and vanilla together in a measuring jug.
- Using an electric mixer on low speed, beat sugar and butter in a large bowl until blended. Increase speed to high and beat well until very pale and creamy, at least 5 minutes.
- Reduce speed to medium low, add eggs 1 at a time, beating well after each addition.
- Alternately add flour mix and milk mixture, beginning and ending with flour mixture (I did it by adding 1/4 of of the dry mixture followed by 1/3 of the wet mixture at a time). Beat until smooth, occasionally scraping bowl with a spatula.
- Split mixture equally between prepared tins and smooth top with a spatula.
- Bake until a skewer inserted into the centre just comes out clean and the outside is golden, about 35-40 minutes (will vary depending on your cake tin size). Take cake not to overbake or cake will be dry.
- Cool in tins for 15 minutes, then carefully turn out on to a wire rack to cool completely. Keep cakes wrapped in clingfilm and chilled in fridge until you are ready to assemble. Can be stored in an airtight container overnight if you want to prep the cakes a day ahead.
For the malt icing:
400g (3.5 sticks) butter, softened
400g (about just under 3 cups) icing/confectioner's sugar, sifted
100g (about 1 cup) Horlicks or malted milk powder
1/4 cup milk, adjust for texture
Optional: crushed honeycomb pieces (keep them fairly large (just under 1 cm wide) as they will melt slightly) to layer within cake, Maltesers/malted milk balls plus more crushed honeycomb pieces or Crunchie to decorate.
- Place butter in a large mixing bowl and beat with an electric mixer on high until smooth and fluffy.
- Add icing sugar, malted milk powder to bowl and mix until it starts to come together, then gradually add milk while beating on high until light and fluffy. I added my milk 1 tbsp at a time until I achieved the desired texture. You want your icing to be stiff enough to hold its shape but smooth enough to be spread easily.
- Trim the tops of your cakes so they are level using a long, sharp, preferably serrated knife. Place one layer on your cake stand and use an offset spatula to spread a thick layer of icing over the top of the cake (I used an ice cream scoop to make sure I spread an equal amount of icing between each layer.
- Sprinkle a layer of crushed honeycomb pieces over the top of the icing and sandwich with another cake layer. Repeat with remaining layers.
- Crumb coat cake and then chill for about half an hour, then cover with remaining icing and smooth with offset spatula. If you want to achieve a spiral/swirl effect with the icing, press the tip of your offset spatula gently into the icing at the bottom of your cake and slowly rotate the cake (this is MUCH easier if you have a turntable, which I did not) and spiral the spatula around the side of the cake.
- Place cake in the fridge until ready to serve. Remove from fridge at least 1 hour before serving to allow cake to come back to room temperature. When ready to serve, decorate with Maltesers and more broken up pieces of honeycomb/Crunchie. Avoid decorating ahead of time as the honeycomb/malt pieces will start to soften the longer they are exposed to air.

This is a beautiful cake!
ReplyDeletethis looks SO SO good. i must try this !!! : )))
ReplyDeleteI wouldn't get sick of tall cakes either! This particular recipe is amaaaazing!
ReplyDeleteLooks delicious! What a nice friend you are! :)
ReplyDeleteHave you looked at using vanilla bean paste? I use it in everything now rather than pods and extract. This cake looks amazing.
ReplyDeleteYes I have paste as well but I find the flavour is better from the actual pods, I dunno if I'm just imagining it or not !
DeleteThat looks amazing! Love the use of honeycomb, that sounds like the perfect topping. Beautiful cake as always. :)
ReplyDeleteHi. This looks delicious but I never make layer cakes. How big of a pan could I use if I wanted to make a flat cake?
ReplyDeleteNot 100% sure, but you could try halving the amounts in the recipe and using a 9 inch pan.
DeleteLooks delicious
ReplyDeleteIncredible! I just love malt and honeycomb - this cake looks perfect!!
ReplyDeletetall cakes are gorgeous! your cakes are stunning every single time!
ReplyDeleteThis looks absolutely delicious!
ReplyDeleteCourtney x
http://ceejayscupcakecafe.blogspot.co.uk/
Oooooh, I love all your amazing cakes. Just makes me want to rush to the kitchen cos I can't eat the screen! Yum!
ReplyDeleteThis sounds amazing. Love the clever chocolate demarcation too!
ReplyDeleteIt's gorgeous! I love how theatrical tall cakes are as well.
ReplyDeleteWhat a beautiful cake as per usual, your desserts never disappoint!
ReplyDeleteThis looks so, so delicious! I love your photography and presentation.
ReplyDeleteHello - thank you for this recipe. It looks so delicious and I can't wait to try it. Just one question - what size are your eggs or the weight of your eggs? Here in my country we have large, extra large and jumbo :)
ReplyDeleteI use large eggs here in Australia, which I think are minimum weight 55g?
Delete